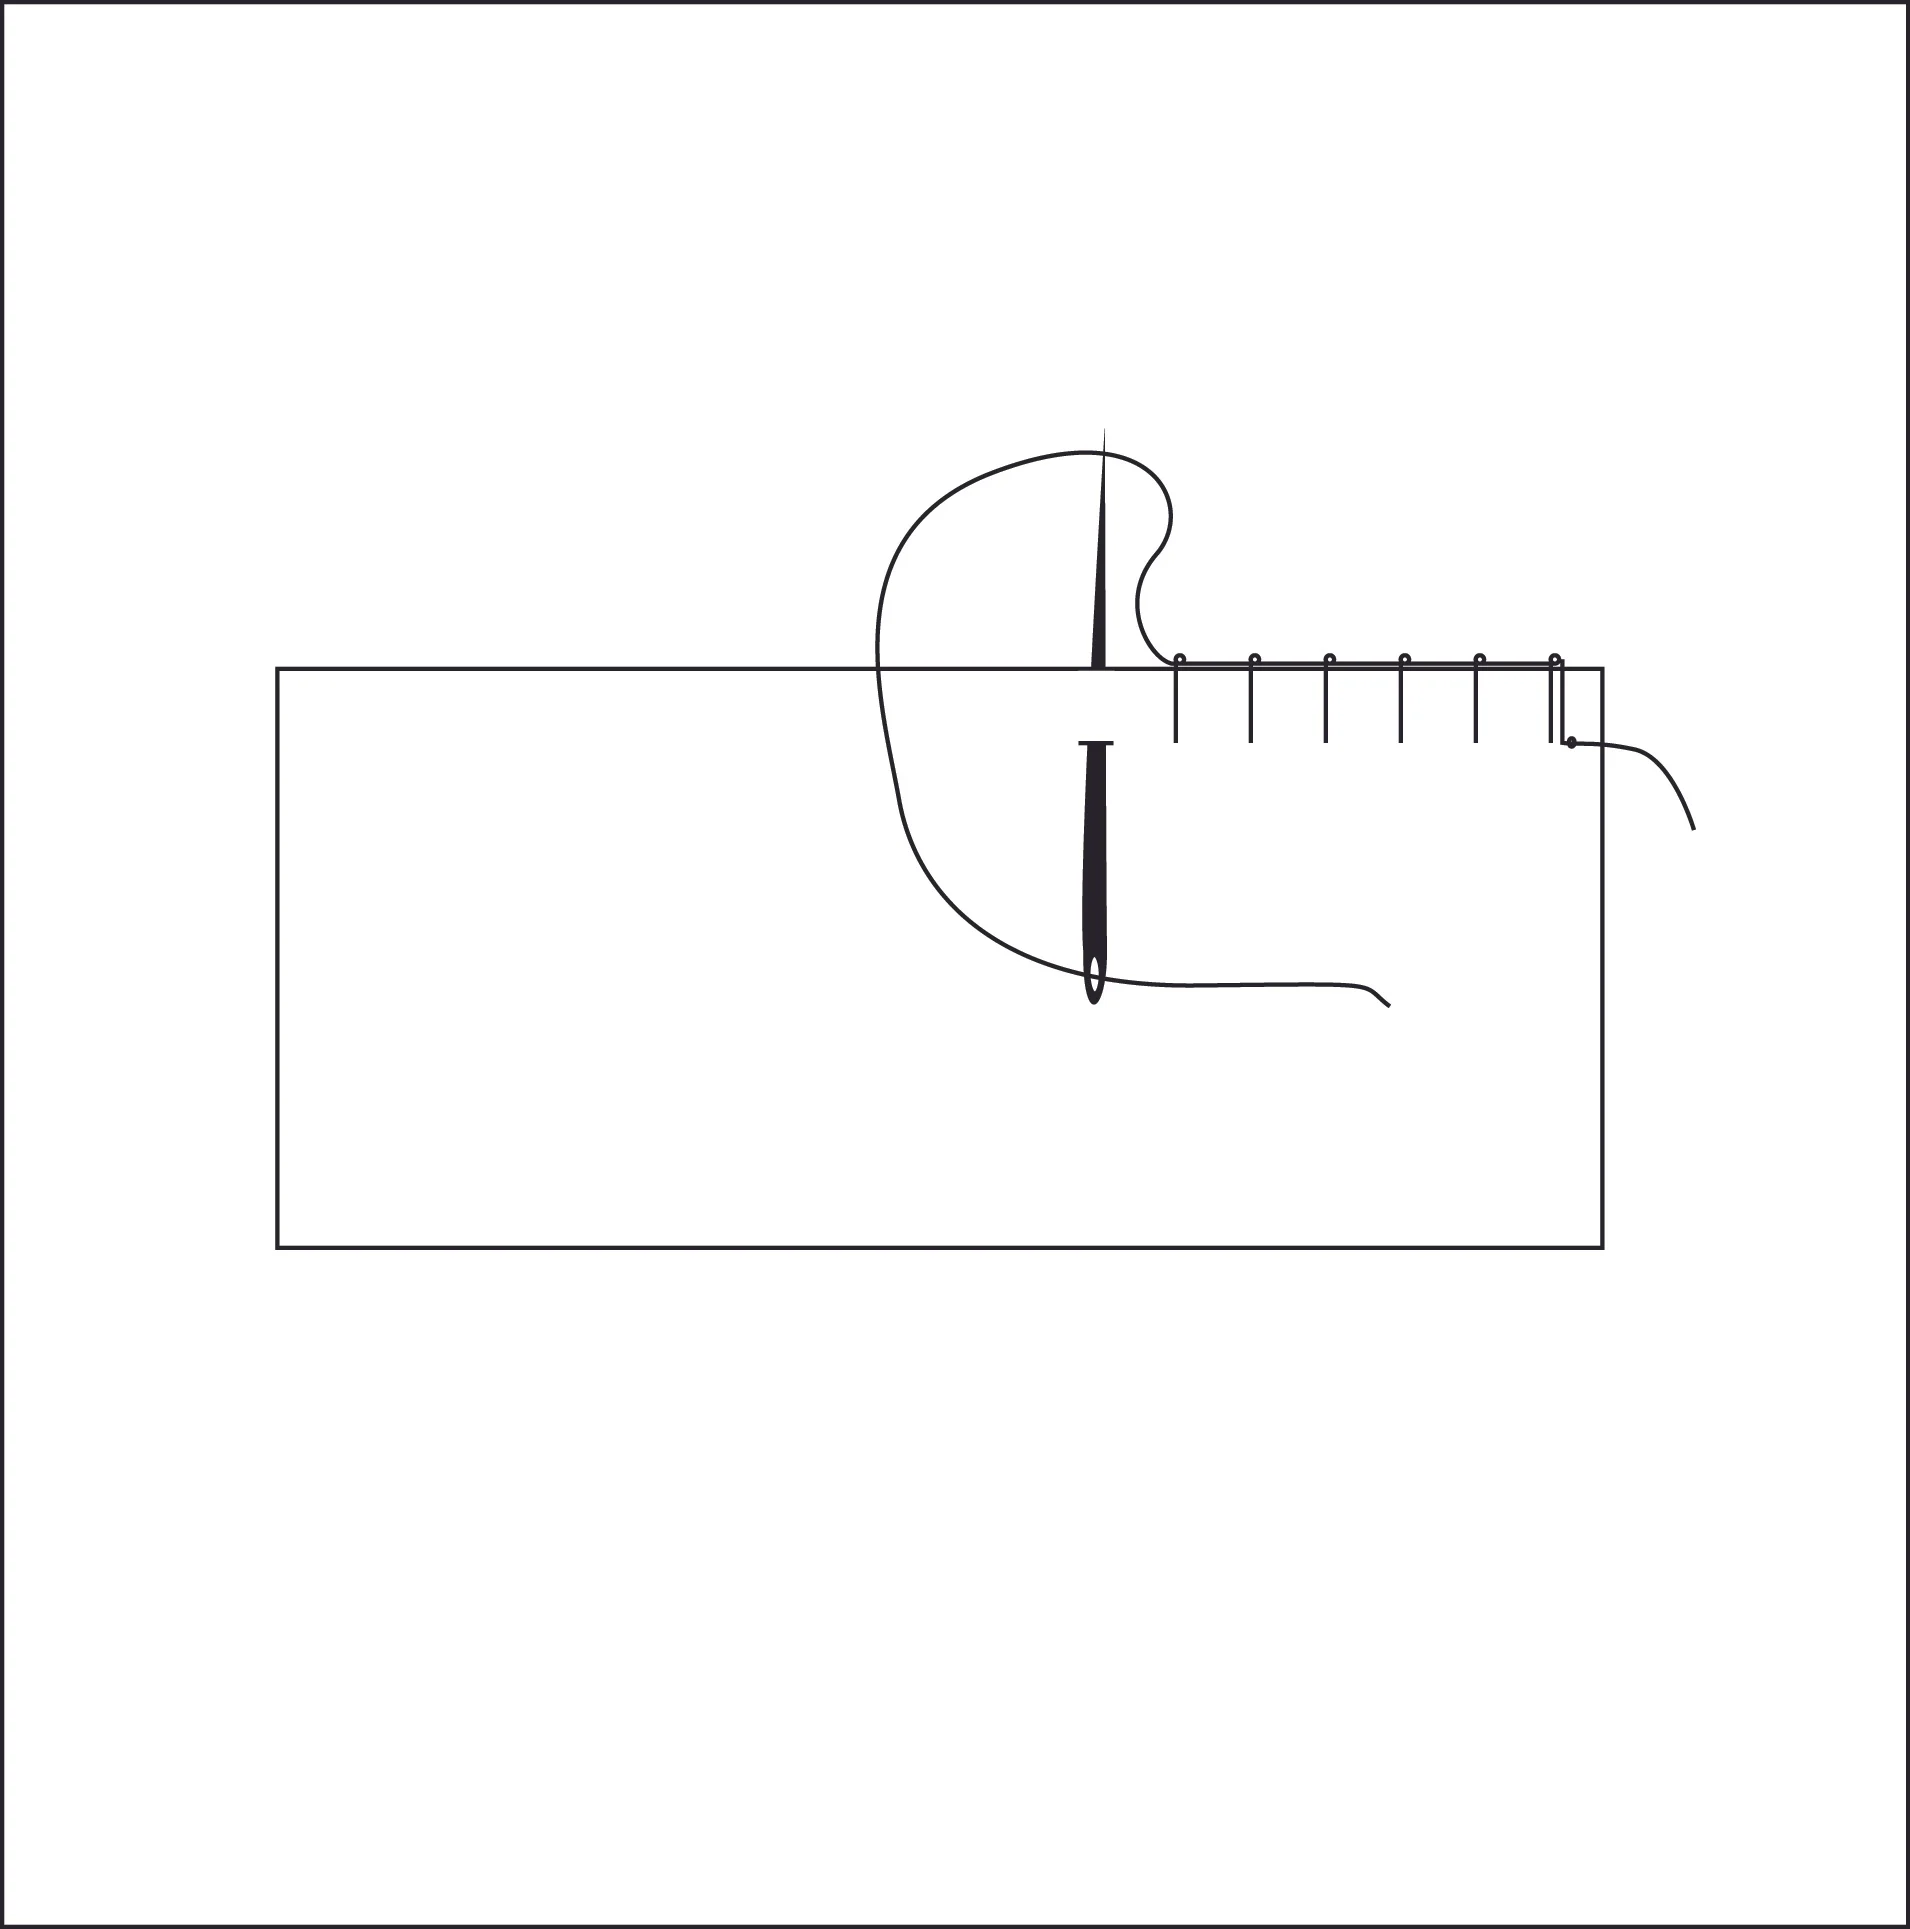
Picking up where we left off a few months ago, we’ll learn an additional basic hand sewing stitch- the blanket stitch. This stitch can be applied to previous projects, for example, how to hem and how to sew a patch, and it is especially useful for finishing seams. Unless otherwise indicated, always tie a knot when beginning and ending a row of stitches. For right-handed sewers, most stitches move from right to left. It will be the opposite for left-handed sewers.
Tools required: Sewing needle, thread, fabric
Blanket stitch – usually used to finish off the raw edge of a piece of fabric, especially on the seams of a garment or a blanket (hence the name ‘blanket stitch). A variation of this stitch is also used to make hand bound buttonholes.
1) With the edge of the fabric facing up, start your stitch at the far right corner of the fabric. Guide the needle in an out of the fabric from right side to wrong side about ¼ inch away from the fabric raw edge. Pull the needle out from the wrong side, back to the right side and repeat the process in the same spot.
2) In the same spot, place the needle into the right side, and before pulling it through, wrap the excess thread around the head of the needle in a counterclockwise direction. Pull the needle through gently and ensure the thread lays directly on the edge of the fabric.
3) Move forward ¼ inch and insert the needle into the right side of the fabric and repeat step 2. Continue steps 2 and 3 until the entire edge of the fabric is covered.
2 Champagne Drive - Unit C9
Toronto, Ontario, M3J 0K2
(647) 478-8752
The Voice of Downsview
Your Custom Text Here

